Keith, again, here to kick off another new series of blogs. Each blog in this series will attempt to do a behind-the-scenes look at an adventure in an adventure path. We’ll start with Edge of Anarchy, the first Curse of the Crimson Throne adventure, but there are plenty more Adventure Paths after that. Each blog will include anecdotes from design and suggested options for changing the difficulty of scenarios or spicing up replay. I invite you to “Play It Your Way” my way. It’s fun! (Warning: Many of these suggestions increase the complexity and/or difficulty of the game, so are most appropriate for experienced players!)
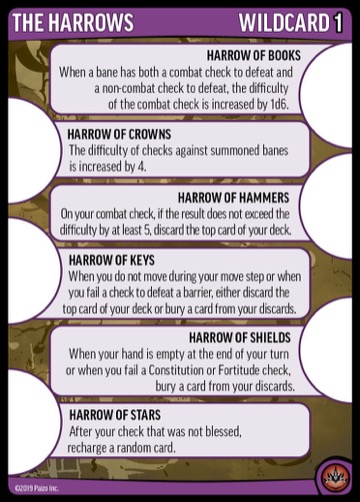

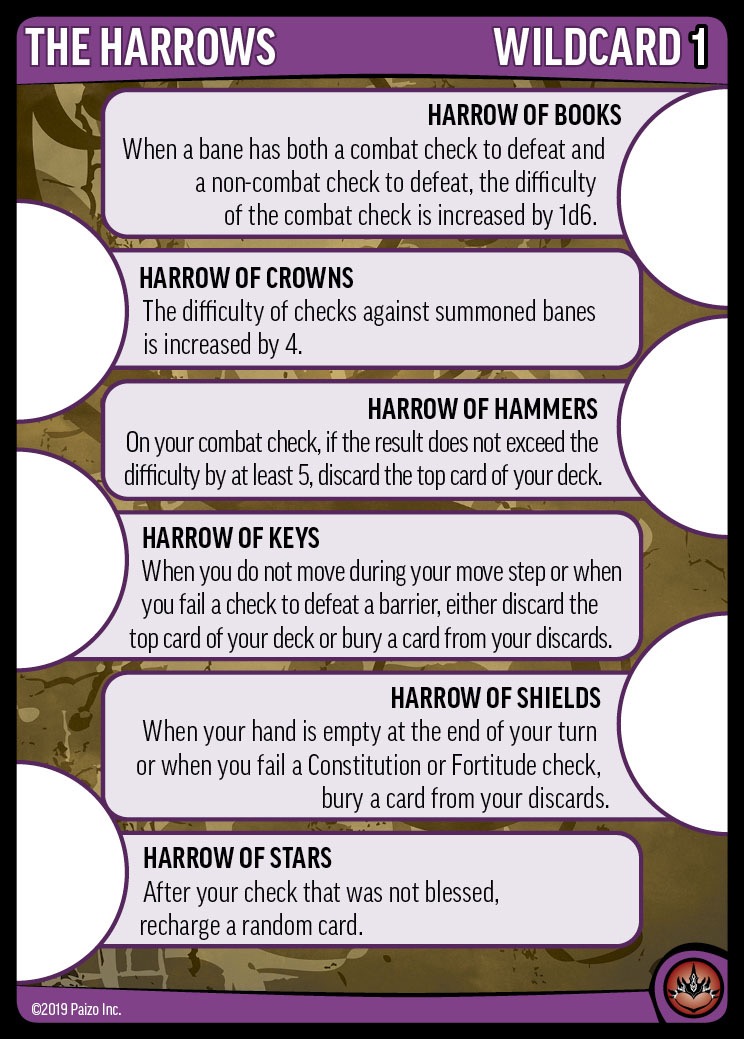
Harrow of Keys really spices up Edge of Anarchy.
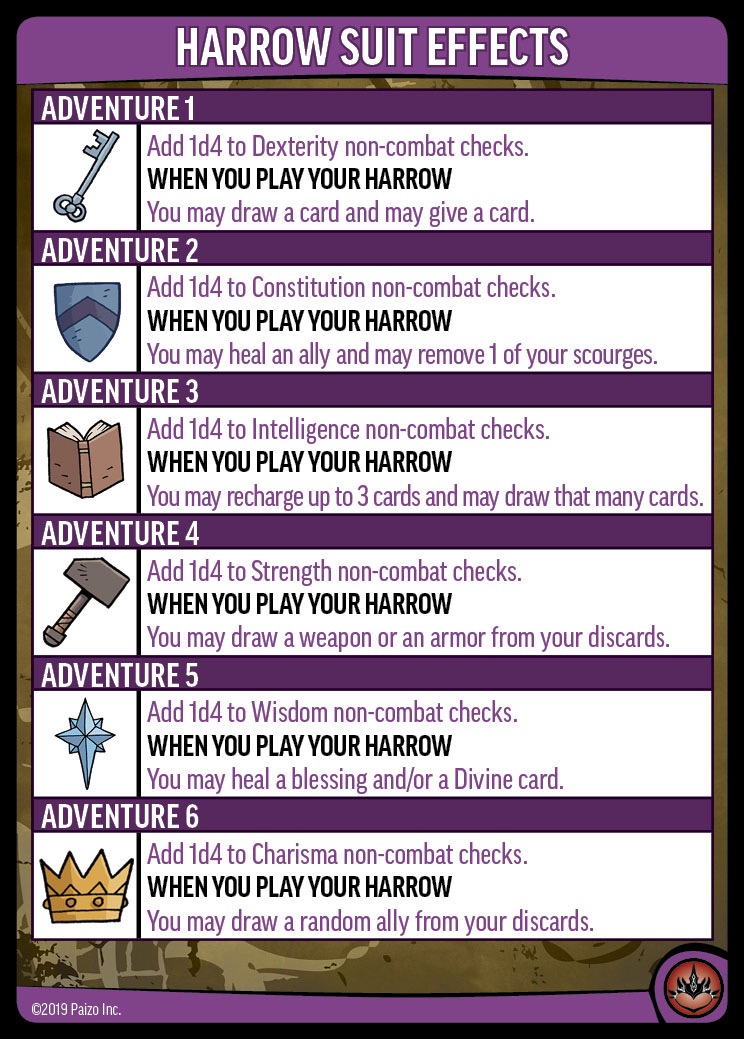
In Curse of the Crimson Throne, each adventure is associated with a specific Harrow suit, so consider adding the Harrows wildcard that corresponds to the Harrow suit for that adventure. For Edge of Anarchy, that’s the Harrow of Keys. If you don’t want to just increase the difficulty by adding a wildcard, you could make the game a little easier by starting each scenario with a free exploration of the Base and making the Base not close if it’s out of supporters. That’s an easy way to make the supporters a lot more accessible to the whole group, which might be more fun for some groups.
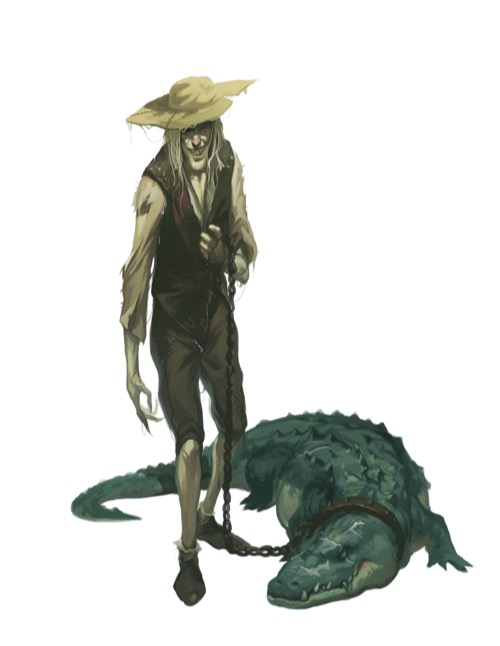
Fagin from Oliver Twist meets Captain Hook.
The Adventure Path's introductory scenario is 1★: Haunted Fortunes. It’s adapted from (and shares its name with) the first part of the first chapter of the RPG Adventure Path. I think it’s my favorite introduction to an RPG Adventure Path: Each character is invited to think of some reason to hate a despicable criminal, Gaedren Lamm, then gets to rescue a bunch of orphans on the way to bringing justice to him. Drawn together by this mutual hatred and a mysterious fortune-telling, you instantly create a party and dive right into play. When I ran it for my wife, her character had two reasons to hate Lamm: he’d kidnapped her and her twin sister, and he’d fed my wife’s character to his alligator. (Don’t worry: she got better. Sort of. She also eventually found her sister. Sort of.)
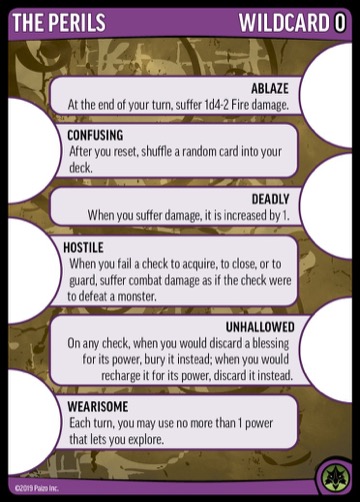
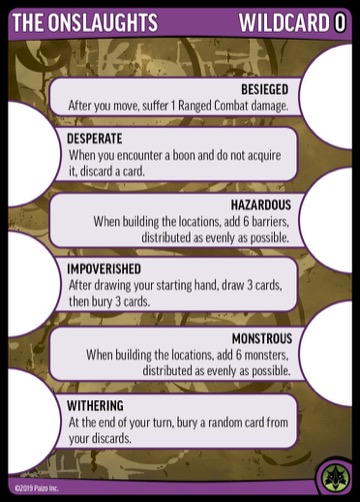
For extra fun
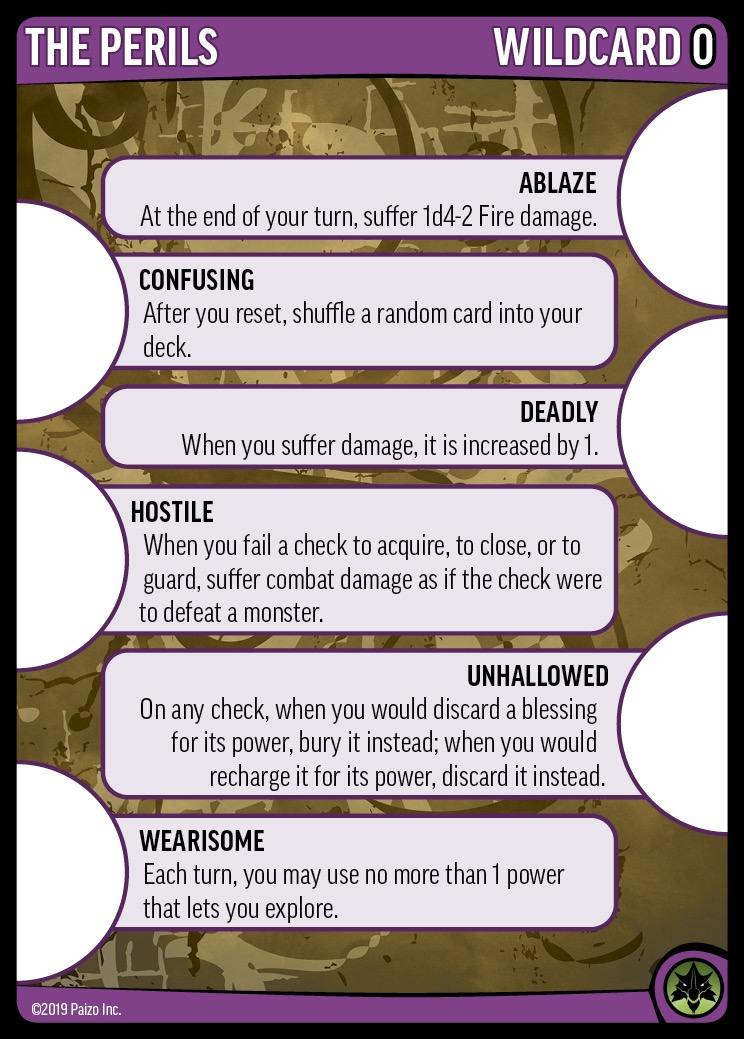
and profit!For this scenario I’d additionally consider any of the Perils wildcard Wearisome, the Onslaughts wildcard Impoverished, or the Perils wildcard Hostile (in roughly increasing order of difficulty). Wearisome isn’t too painful at this level, but it does keep people’s turns from getting too long. Impoverished lets you start with a better hand, at the cost of losing some cards and being closer to death; not ideal, but also not too bad in your first scenario. Hostile makes a lot more checks a lot more dangerous, so is a good pick for those seeking a real challenge. Villain scenarios can also often use an extra location to increase difficulty for experienced groups, so I’d add the next location on the list; if you’re a group of 6, I’d add Abandoned Shacks.
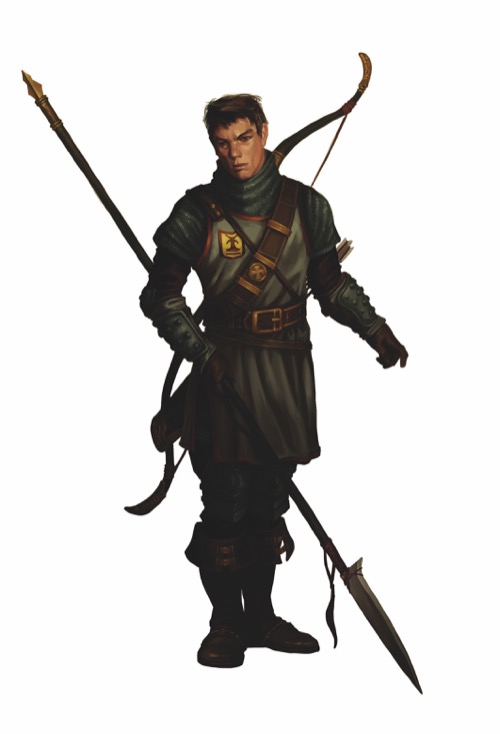
So loyal he still wears his uniform while committing his treason.
The next scenario is 1A: A City Gone Mad. The villain here, Verik Vancaskerkin, doesn’t actually know about the dastardly deeds of the thugs working for him, so if you manage to find the Evidence or talk him into surrendering, you get a bonus ally and blessing for your trouble. Which is great. Apparently it’s news to Verik that people calling themselves “The Cow Hammer Boys” and operating out of a shop called “All The World’s Meat” at the address “22 Stirge Street” were up to no good, where “no good” is selling people meat. No, not selling people meat—selling people meat. Cannibalism. (I’m not sure how that term works if you’re an elf eating a dwarf, though.) When I ran the RPG and the PCs reported what they found to Verik, I assumed the proper reaction to “Sir, the men have been moonlighting as assassins who turn people into ribeyes. Also, how was dinner last night?” would be shocked bewilderment followed by vomiting.
I’d recommend the Perils wildcard Deadly here. I also like adding a location (Alley for 6 characters). After that, I’d use any of Wearisome, Impoverished, or Hostile, especially if you didn’t use them in Haunted Fortunes.
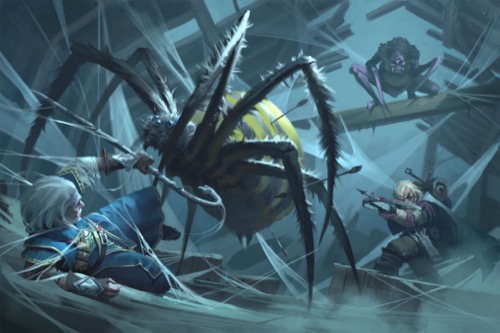
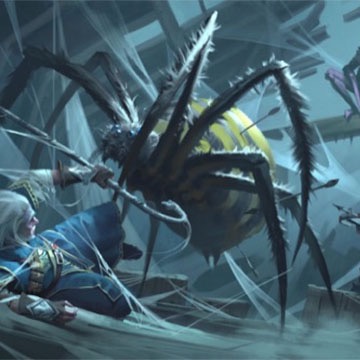
We grow big spiders in these parts.
Before playing 1B: The Ambassador’s Secret, please observe its FAQ.
The next scenario is an example of the ‘Solve the Mystery’ style scenario, where you get free examinations that let you move cards around between locations while you try to deal with Trigger barriers. I made the first test scenario of this type for Season of the Righteous 3, based on a concept I’d intended for this very path. I got to experiment with the format a bunch more in other seasons, especially Season of the Plundered Tombs. This scenario also led to my favorite testing anecdote ever: After the monster Giant Fly was shuffled randomly into the location Spider Nest, the tester commented “Either a bad idea for the fly, or it's off to get revenge for its kind,” to which another tester asked “Well, how big are the spiders?” I supplied the above picture, and got a prompt response of “Bad idea then.”
The Perils wildcard Ablaze, dealing Poison damage instead of Fire, is a very thematic (albeit painful) option for this scenario. To increase the difficulty, consider shortening the first scenario power to just “At the end of your turn, you may examine the top card of your location,” or changing the final phrase to “then put that card on top of a random location.” Requiring an additional Evidence (by removing the “or equal to” from the second scenario power) is also a solid option.
Scenario 1C: The Dead Warrens can easily be the toughest scenario in the adventure. This is true for thematic reasons and also because it was originally the final scenario of the adventure. For story and pacing reasons, we wanted to keep the chase after Trinia and the execution together.
The Perils wildcard Confusing is a perfectly thematic choice for this Derro-filled scenario. I also like the Onslaughts wildcard Monstrous, but I’d require that all of the monsters have the Undead trait (you’ll need to find them before building locations). If you’re playing on Legendary and haven’t increased # to 2, this scenario could really use it since level 2 has a bunch of Undead.
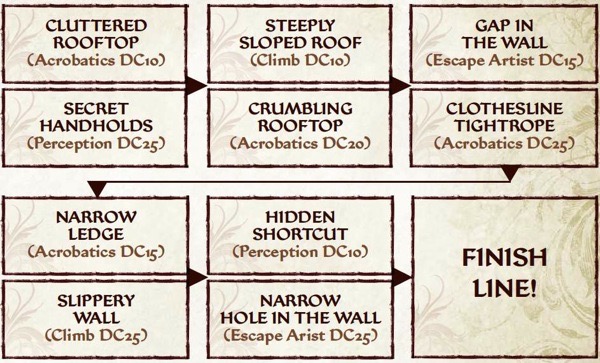
Chase rules can get a little wacky in both the RPG and ACG.
Scenario 1D: Kingkiller is one of several ways we’ve run “chase” scenarios. In the RPG, you often make choices about which way to go, such as “leaping between rooftops” or “balancing on the plank that leads across” that let you use different skills and mix up the difficulty of options. The location Rooftop’s power to choose between two barriers whenever you encounter a barrier is entirely inspired by this mechanic. This scenario can be pretty quick and easy, which might feel nice for anyone who had a tough time with the previous scenario.
On the other hand, if you’re looking for more of a nail-biter, I’d encourage at least one of two modifications to this scenario to increase difficulty: First, remove the scenario’s automatic closing from defeating the Fugitive. This means that you’ll have to defeat a barrier to close each Rooftop location, and if you fail, closing will require either emptying it or shuffling the Fugitive back into it. It really changes up the feel of the chase. Second, when the Fugitive is defeated and is shuffled into another location, I’d instead shuffle the Fugitive and a new barrier into a stack, then shuffle each into a random location (different locations if possible).
That’s more than enough for this blog. I can probably do Adventure 2 more succinctly, right?
Keith Richmond
Adventure Card Game Designer
Adventure Time: Edge of Anarchy
Friday, September 13, 2019