Beginning Terrain-Making Blog, Part 2: Using Silicone MoldsTuesday, June 21, 2011
At PaizoCon this year I ran a seminar/workshop introducing all sorts of things about making terrain for RPGs and wargaming. In between various demonstrations of hot wire foam cutting, casting bricks in dental plaster, mixing epoxy putty, and using polymer clay, I rattled off a bunch of websites with more information and/or product links. Here's a rundown on the information and links for plaster-casting and mold-making, just in case you missed the seminar.
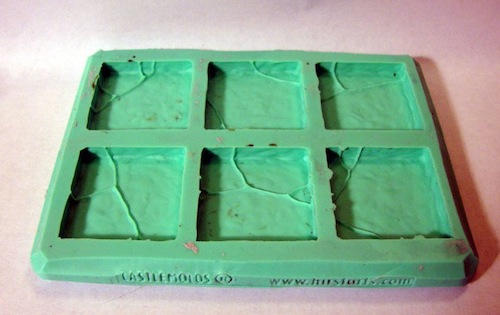 | |
| A Hirst Arts cracked floor tile mold. | |
Using Silicone-Rubber Molds
Do you want to build a fort for your PCs to invade? What about a dungeon with customized room pieces you can move around? Or a display piece to hold your favorite miniatures? Building these out of hard plaster "bricks" is easy with the right tools. First of all, you need a suitable mold for the bricks you want. Hirst Arts Fantasy Architecture is by far the best site for buying terrain molds and finding tutorials on how to use them. The mold types range from simple rectangular bricks (like Wizard's Tower Mold #50) to flat floor tiles (like Cracked Floor Tiles Mold #206) to molds for ancient Egyptian buildings, gothic towers, or natural caverns. The molds are durable and easy to use, and last for hundreds of casts (I've had some of my molds for years and have never seen any wear and tear on them). For many of these molds, there are free downloadable plans for how to use that mold to build a sample structure (for example, the Wizard's Tower Mold instructions show how to build a multi-floor tower).
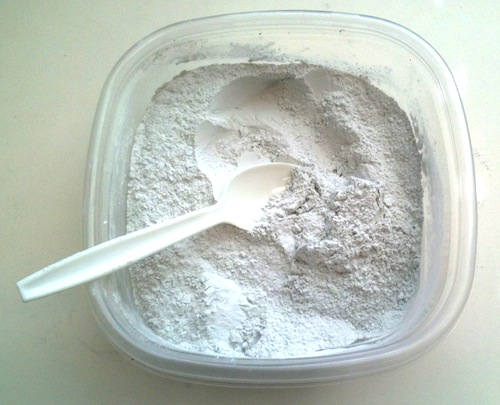 | |
| Excalibur dental plaster. | |
Casting Plaster
Once you have a mold, you need a casting material. Plaster of Paris (aka "POP") is cheap and available at hobby stores and school supply stores, but it's fragile and not good for long-term use. Most terrain-makers use dental plaster, which is heavier and much more durable than POP. The two most common brands are Hydrocal and Excalibur (the most durable); the best places to buy them are dental office supplier (find them on the Internet, the yellow pages, or check the Hirst Arts message boards for a good supplier in your area). Either type costs about a dollar per pound and is usually sold in 25- or 50-pound containers. Depending on the size of the mold, 1 pound makes anywhere from 2–4 casts.
Casting is simple: Mix the plaster with water evenly until it's about the consistency of milk, pour it into the mold, bang on the table to cause trapped air bubbles in the plaster mixture to rise (otherwise you get bubble flaws in the casting), wait 5–6 minutes for the plaster to start to harden and settle, scrape off the excess plaster so it's even with the top of the mold, wait 25 minutes for the pieces to harden, and pop them out of the mold. In my PaizoCon workshop, I spent a few minutes mixing and pouring the plaster, and by the time the seminar was done I was able to hand everyone a fully cast floor tile from the mold. The plaster dust can irritate your eyes and lungs, so you may want to wear eye protection and wear a cloth mask while casting if you're sensitive to that sort of thing.
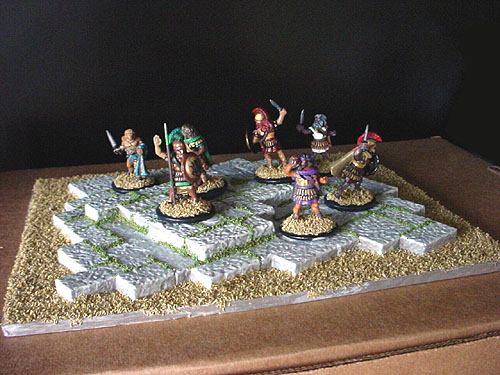 | |
| Miniatures display platform. | |
Ideas for Projects
If you can build it out of bricks, you can create it—castles, retaining walls, ruins, wells, arches, and so on are all easy first-time projects. Cast the pieces, let them dry 24 hours, glue them together with Aleen's tacky glue, and you're done. Optionally, you can paint them (latex house paint is cheapest) to give them a more uniform color.
Sean K Reynolds
Designer